
AI image generation is no longer limited to designers or expensive tools. Today, developers can generate high-quality images directly from Python using simple text prompts. Whether you want to create blog visuals, diagrams, thumbnails, posters, or concept art, Python makes it easy to automate the process.

In this tutorial, you’ll learn how to generate images for free using Python by calling an AI image generation API. We’ll create a clean and reusable client that sends prompts to an image model and returns generated images as URLs or base64 data, depending on the API response.
By the end, you will be able to:
✅ Generate AI images from text prompts using Python
✅ Handle API authentication securely
✅ Use structured request/response validation with Pydantic
✅ Display or download generated images easily
✅ List supported image models using the API
- Why Generate Images Using Python?
- What You’re Building in This Tutorial
- Prerequisites
- Step 1: Install Required Libraries
- Step 2: Store the API Key Securely
- Step 3: Define Default Image Settings
- Step 4: Create Strong Request & Response Models (Pydantic)
- Step 5: Build a Reusable API Client (Async)
- Step 6: Generate an Image from a Text Prompt
- Step 7: Download and Save the Generated Image Locally
- Bonus: List Available Models
- Google Colab Notebook (With Output)
- Conclusion
Why Generate Images Using Python?
Python is a perfect choice for AI image generation because it allows you to:
- Automate image generation for content workflows
- Generate multiple images in a single run
- Build tools like thumbnail generators or poster creators
- Integrate visuals into apps, dashboards, and websites
- Combine prompts with dynamic input (titles, keywords, article topics)
Instead of manually generating images one-by-one, you can scale your workflow and generate visuals programmatically.
What You’re Building in This Tutorial
We’re going to build a Python-based image generation setup that can:
- Send a prompt to an AI image model
- Receive a generated image response
- Extract image output as:
- an image URL, or
- a base64 JSON result (image in encoded format)
- Display or save the generated image
This approach is useful whether you’re building:
- a blogging tool
- a thumbnail generator
- an AI content pipeline
- a creative automation project
Prerequisites
Before you start, make sure you have:
- Python 3.9+ installed
- An API key for your image generation provider (A4F API Key)
- Basic Python knowledge (variables, functions, imports)
You can generate your A4F API Key from here:https://www.a4f.co/api-keys
Step 1: Install Required Libraries
We need a few libraries for HTTP requests and data validation.
Install them using:
pip install httpx pydantic
Why these libraries?
- httpx → modern HTTP client (async support + clean API)
- pydantic → ensures request and response data stays structured and safe
Step 2: Store the API Key Securely
API keys should never be hardcoded inside the script (especially if you’re uploading it to GitHub).
A safer approach is storing it as an environment variable.
Linux / macOS
export A4F_API_KEY="your_api_key_here"
Windows (PowerShell)
setx A4F_API_KEY "your_api_key_here"
Then restart your terminal and confirm:
echo $A4F_API_KEY
✅ Now your script can read the key without exposing it in code.
Step 3: Define Default Image Settings
Most image generation APIs require basic configuration like:
- model name
- output size
- number of images
Here’s a clean default setup:
DEFAULT_MODEL = "provider-4/imagen-4"
DEFAULT_SIZE = "1024x1024"
You can change these values anytime depending on the model and requirements.
Step 4: Create Strong Request & Response Models (Pydantic)
Instead of sending random dictionaries to the API, it’s a best practice to define proper schemas.
Image generation request model
from pydantic import BaseModel

class ImageGenerationRequest(BaseModel):
    prompt: str
    model: str = DEFAULT_MODEL
    size: str = DEFAULT_SIZE
    n: int = 1
    quality: str = "standard"
    style: str = "vivid"
    response_format: str = "url"
Image response models
from typing import Optional, List

class ImageData(BaseModel):
    url: Optional[str] = None
    b64_json: Optional[str] = None
    revised_prompt: Optional[str] = None

class ImageGenerationResponse(BaseModel):
    created: int
    data: List[ImageData]
Step 5: Build a Reusable API Client (Async)
Now we build an A4FClient class to communicate with the API.
import os
import httpx
from typing import Optional

A4F_API_KEY = os.getenv("A4F_API_KEY")
A4F_BASE_URL = os.getenv("A4F_BASE_URL", "https://api.a4f.co/v1")

if not A4F_API_KEY:
    raise ValueError("❌ A4F_API_KEY not found. Please set it as an environment variable.")

class A4FClient:
    def __init__(self, api_key: Optional[str] = None):
        self.api_key = api_key or A4F_API_KEY
        self.base_url = A4F_BASE_URL

    def _get_headers(self) -> dict:
        return {
            "Authorization": f"Bearer {self.api_key}",
            "Content-Type": "application/json"
        }

    async def generate_image(self, request: ImageGenerationRequest) -> ImageGenerationResponse:
        async with httpx.AsyncClient(timeout=120.0) as client:
            response = await client.post(
                f"{self.base_url}/images/generations",
                headers=self._get_headers(),
                json=request.model_dump()
            )
            response.raise_for_status()
            return ImageGenerationResponse(**response.json())
Step 6: Generate an Image from a Text Prompt
Now we create a function that sends a prompt and prints the image URLs.
import asyncio

async def generate(prompt: str, size="1024x1024", n=1):
    client = A4FClient()

    req = ImageGenerationRequest(
        prompt=prompt,
        model=DEFAULT_MODEL,
        size=size,
        n=n
    )

    res = await client.generate_image(req)

    for i, img in enumerate(res.data, start=1):
        print(f"\n--- Image {i} ---")
        print("URL:", img.url)
        if img.revised_prompt:
            print("Revised Prompt:", img.revised_prompt)

    return res
Example usage
asyncio.run(
generate(
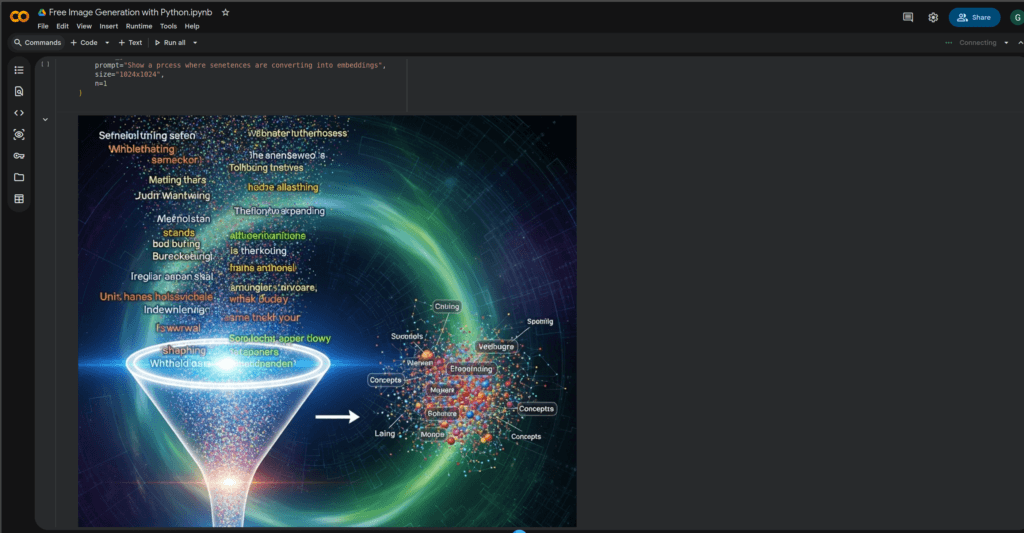
prompt="Show a process where sentences are converting into embeddings",
size="1024x1024",
n=1
)
)
✅ This will generate an image and print the output URL.
Step 7: Download and Save the Generated Image Locally
Many APIs return a hosted image URL. You can download it like this:
import requests

def download_image(image_url: str, file_name="generated.png"):
    r = requests.get(image_url)
    r.raise_for_status()

    with open(file_name, "wb") as f:
        f.write(r.content)

    print(f"✅ Image saved as: {file_name}")
Bonus: List Available Models
If you want to see which models are supported in your account:
class A4FClient:
    ...
    async def list_models(self):
        async with httpx.AsyncClient(timeout=30.0) as client:
            response = await client.get(
                f"{self.base_url}/models",
                headers=self._get_headers()
            )
            response.raise_for_status()
            return response.json()
Google Colab Notebook (With Output)
To make it easier for you, I have shared the complete working code in a Google Colab notebook along with the generated image output.
Open the Notebook Here: Free Image Generation with Python
Includes: API setup + image generation code + output preview
This notebook is helpful if you want to quickly test the script without setting up anything on your local machine. Simply open it, enter your API key, run the cells, and generate your images instantly
Google Colab Output
Conclusion
Free image generation with Python is a powerful way to automate creative work. With a clean API client, you can generate stunning images using text prompts and integrate them into your blog, apps, or automation workflows.
✅ Plus, getting started is simple: create your A4F API key here:https://www.a4f.co/api-keys
If you have any questions or face any errors, feel free to ask in the comments.
See Also

Code is for execution, not just conversation. I focus on building software that is as efficient as it is logical. At Ganforcode, I deconstruct complex stacks into clean, scalable solutions for developers who care about stability. While others ship bugs, I document the path to 100% uptime and zero-error logic