Creating a Simple Calculator with React. In this tutorial, we’ll walk through the process of building a simple calculator application using React, a popular JavaScript library for building user interfaces. This calculator will perform basic arithmetic operations like addition, subtraction, multiplication, and division.
Table of Contents
Prerequisites
To follow this tutorial, you should have a basic understanding of HTML, CSS, and JavaScript. Familiarity with React and its core concepts, such as components, state, and props, is also recommended.
Setting Up the React Project
First, ensure you have Node.js and npm (Node Package Manager) installed on your computer. You can download and install them from nodejs.org.
- Create a New React Application:
Open your terminal and run the following command to create a new React application namedcalculator-app:
npx create-react-app calculator-app- Navigate to Your Project Directory:
Change the directory to your newly created app:
cd calculator-app- Start the Development Server:
Run the following command to start the development server and open your application in a web browser:
npm startBuilding the Calculator with React
Let’s start coding our application.
Modify App.js:
Open the src/App.js file. Remove all the existing markup inside the div tag and replace it with the following JSX to set up a simple calculator layout:
   import React, { useState } from 'react';
   import './App.css';

   function App() {
     const [input, setInput] = useState("");

     const handleInput = (e) => {
       setInput(input + e.target.value);
     };

     const calculate = () => {
       try {
         setInput(eval(input).toString());
       } catch (error) {
         setInput("Error");
       }
     };

     const clear = () => {
       setInput("");
     };

     return (
       <div className="calculator">
         <div className="display">{input}</div>
         <div className="keypad">
           <button onClick={clear}>Clear</button>
           <button onClick={handleInput} value="/">/</button>
          <button onClick={handleInput} value="*">*</button>
          <button onClick={handleInput} value="-">-</button>
          <button onClick={handleInput} value="+">+</button>
          <button onClick={handleInput} value="9">9</button>
          <button onClick={handleInput} value="8">8</button>
          <button onClick={handleInput} value="7">7</button>
          <button onClick={handleInput} value="6">6</button>
          <button onClick={handleInput} value="5">5</button>
          <button onClick={handleInput} value="4">4</button>
          <button onClick={handleInput} value="3">3</button>
          <button onClick={handleInput} value="2">2</button>
          <button onClick={handleInput} value="1">1</button>
          <button onClick={handleInput} value="0">0</button>
           <button onClick={handleInput} value=".">.</button>
           <button onClick={calculate}>=</button>
         </div>
       </div>
     );
   }

   export default App;
Styling the calculator
Open the src/App.css file and add some basic styles to improve the appearance of your calculator:
   .calculator {
     max-width: 400px;
     margin: 50px auto;
     padding: 20px;
     border: 1px solid #ccc;
     text-align: center;
   }

   .display {
     margin-bottom: 10px;
     padding: 10px;
     background-color: #f2f2f2;
     font-size: 32px;
     border: 1px solid #ccc;
   }

   .keypad button {
     width: 25%;
     padding: 20px;
     font-size: 16px;
     margin: 5px;
     border: 1px solid #ddd;
   }
Testing Calculator
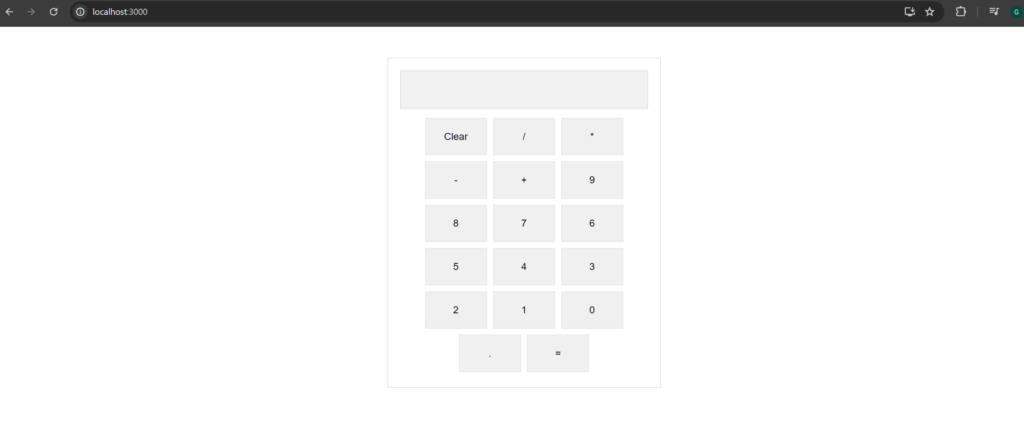
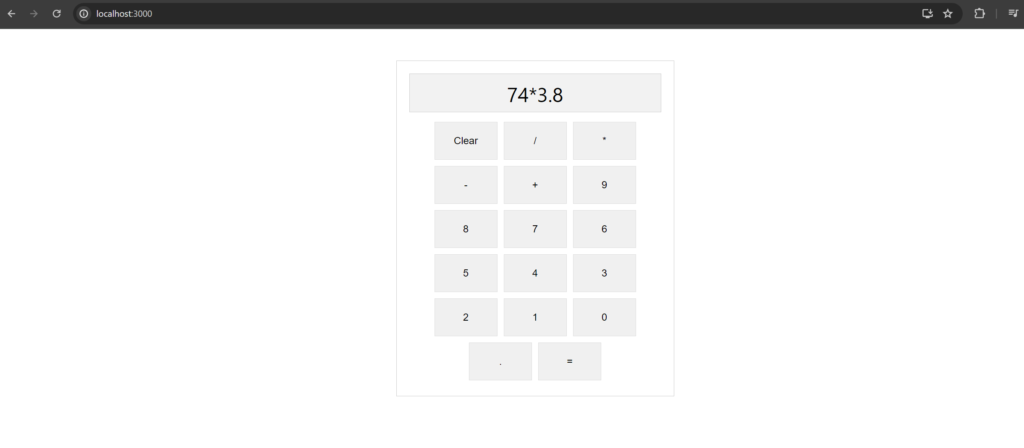
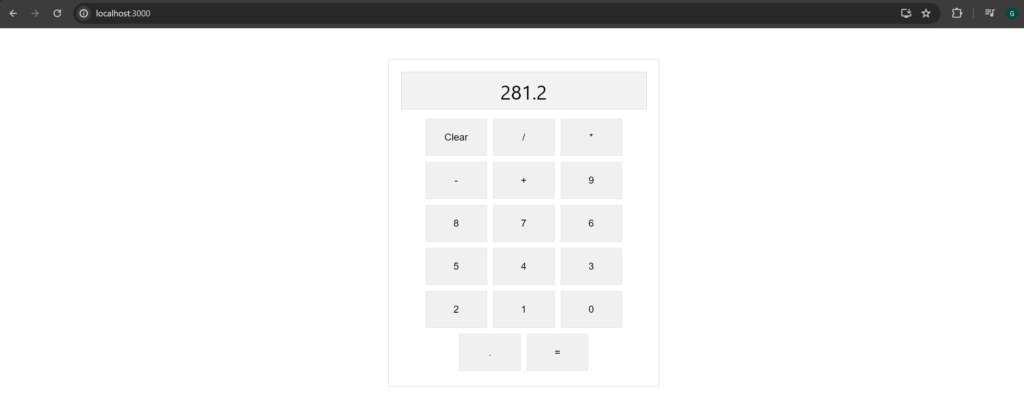
Now that your basic calculator is set up, open your browser to see it in action. Try performing different arithmetic operations to ensure that all functionalities are working correctly.


Congratulations! You’ve just built a basic calculator using React. This project covers fundamental React concepts, including components, state management, and event handling. You can extend this application by adding more features like scientific computations or creating a history log of calculations.
This simple project is a great way to practice React and deepen your understanding of handling user inputs and updating the state in response to user actions.
Happy coding & Learning
See Also