How to Install Kafka on Windows? Apache Kafka is a distributed streaming platform used for handling real-time data feeds. It’s a powerful tool for building high-throughput, low-latency applications, making it a popular choice for various use cases like fraud detection, log analysis, and real-time analytics.
This guide will walk you through installing and running Apache Kafka on Windows 10 or later.
Table of Contents
Prerequisites
- Windows 10 or later
- Java JDK 11 or later (download from https://www.oracle.com/java/technologies/downloads/)
- Optional: WSL2 (Windows Subsystem for Linux 2) for easier configuration and management
Download Apache Kafka:
- Head over to the https://kafka.apache.org/downloads website.
- Under “Binary downloads,” choose the version you want. For beginners, the latest Scala 2.13 version is recommended.
- Download the
.zipfile and extract it to a directory of your choice. (Prefer Drive root folder only like C:\, D:\)
Start Zookeeper
- Zookeeper is a distributed coordination service that manages Kafka brokers.
- Open a command prompt and navigate to the Kafka folder

- Run the following command to start Zookeeper:
.\bin\windows\zookeeper-server-start.bat .\config\zookeeper.properties
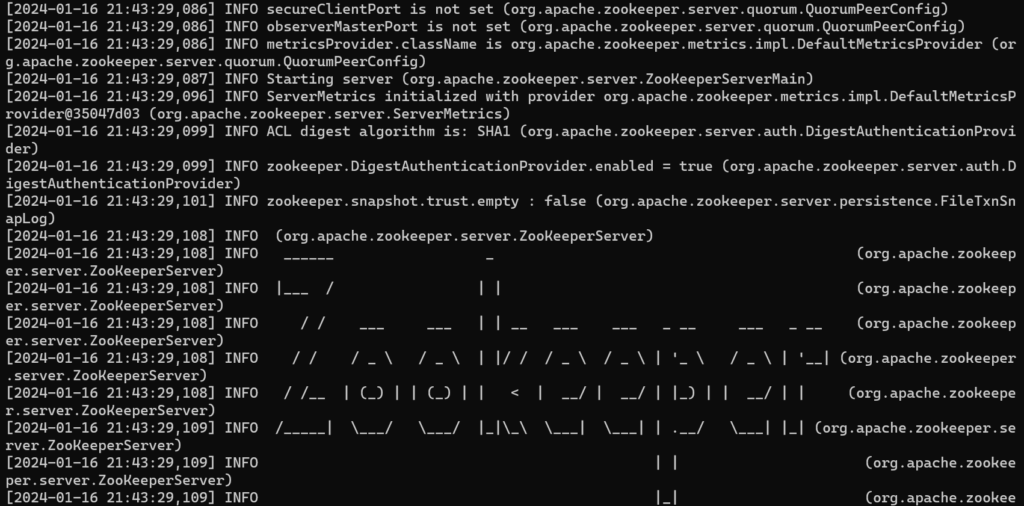
- This will start Zookeeper in the background.
Start Kafka Brokers
- A Kafka broker is a server that stores and distributes data.
- Open a command prompt and navigate to the Kafka folder
- Run the following command to start a single broker
.\bin\windows\kafka-server-start.bat .\config\server.properties

- This will start the broker in the background. You can adjust server.properties for advanced configurations like memory allocation and port numbers.
Troubleshooting
- If you encounter any errors during the installation process, consult the Kafka documentation or online forums for solutions.
- Make sure you have Java installed and accessible through the system path.
- Double-check your configuration files for typos or syntax errors.